
We hope you have had a great month with us and that our Creative Team has brought you loads of inspiration. Today is the last tutorial day and our new Creative Team Member Sanderijn bring us this stunning layout.


Step-by-step

Step 1:
Cut some pieces of paper, and composition your centerpiece. I also used a doily, some tack-cloth and some wire behind my picture. Do not glue it down jet, this is just the fase where you want to make a composition.


Step 2:
Gently dab some golden metallic acrylic paint on your paper, using a stencil.

Step 3.
Add some 'vintage pink' mica powder to a bit of light paste. I use light paste because it's a really light, mousse kind of paste, and it blends very well with mica powder. The mica powder gives a very unique shimmer to the paste.


Step 4.
Use a palette knife and a stencil to put the mica-mixed-paste on your paper.
Step 5.
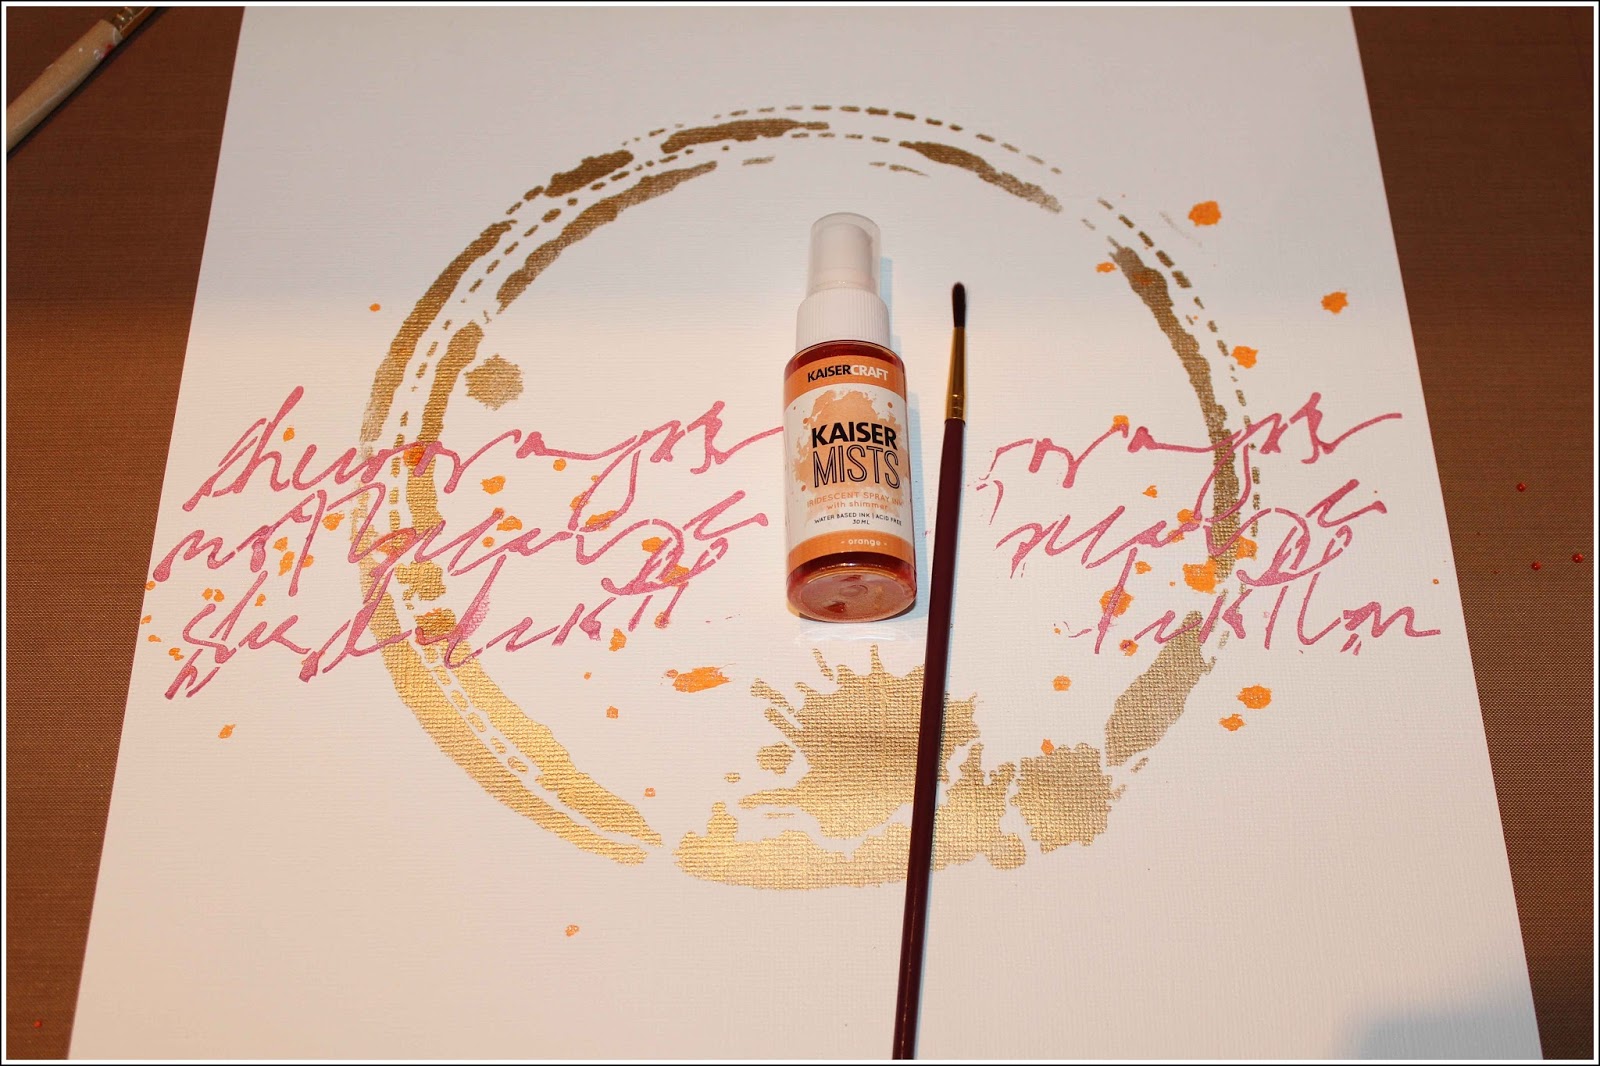
When paste is dry (it dries fast) splatter some orange ink on your cardstock with a brush.

Step 6.
Glue down the pieces of paper with 3D gloss gel. I use a random piece of cardboard between some paper, to create more 3D effect in the layers.

Step 7.
Cut some leaves with your die-cut machine. I inked the edges from the leaves with 'black soot' distress ink.

Step 8.
Embellish your project with the leaves, with flowers and other things you like (crystals or metal embellishments). I painted a piece of wire and some chipboard little hearts also with the golden metallic acrylic paint and used it on my photo and layout. I used 3D glue dots for my leaves to put them on my layout.
Thank you Sanderijn for this step-by-step! Welcome back the day after tomorrow for the reveal of the November Challenge!
Hoi Sanderijn, geweldige foto tutorial....I like your layout !!!
ReplyDeleteDankjewel Heike, wat leuk dat je een berichtje plaatst!
DeleteBeautiful. j.
ReplyDeleteThank you Joi!
DeleteSo Beautiful - love the way you framed your photo! I really like that you did a tutorial too.
ReplyDeleteThank you Kathy!
DeleteThanks a lot for this interessant tuto and this amazing L.O!!!
ReplyDeletePlease, I'd like to have the name of your stencil, I hav'nt this one !!
Hugsssssssssss !!!
Thank you so much Christiane, the stencil is from The Crafter's workshop, it is called Butterfly collage.
DeleteStunning layout!
ReplyDeleteas always ;)
You're so good at making your decorations bring out the photo!